CALL NOW FOR YOUR FREE QUOTE! CALL US AT (603) 472-4002
Bedford Sealcoating - sealing NH driveways since 1996

Step by step DIY guide to sealcoating your own driveway...
Part 4. Sealcoating the driveway.. this is wear it can get messy
- Open the pails and use stirring attachment to thoroughly mix the sealer. Make sure the sealer is well mixed and there is no build up of sand at the bottom of the bucket. If there is, make sure all the sand in the bucket is suspended in the sealer before applying the sealer to the driveway.
- Space the other buckets along the driveway so as you run out you are ready to grab the next one. Remember once you start sealing you cannot walk on the finished areas so don't block yourself off from anything you may need later on.
- A good tip is to first, get a feel for spreading the sealer in a small area away from the garage then gradually "cut the sealer in" to the edges using one small bead of sealer at a time, once you get the feel of it you can use more sealer as you edge the driveway. You can also use an old paint brush to reach any hard to get to areas or tight spots.
- Then, working in small amounts at a time, make rows of sealer perpendicular to the edge driveway. You'll want to work in small amounts to be sure the sealer does not dry before you can smooth it out. This is especially true on hot days and in direct sunlight. This is the reason homeowners often are told to seal their driveways in the fall. Since most sealcoating contractors have experienced applicators they can work fast enough so the drying time is not really an issue.
- Make over lapping rows going back and forth from side to side. It is alright to walk on the sealer as you go, since you will smooth out your footprints as you make your next pass.
- On walkways and turn-arounds remember to start from the far edge and work your way back.
- Continue down the driveway making overlapping rows of sealer. Try to have rows as even as possible because as the sealer wears these rows will become visible. -Note: Professional sealcoating contractors that use a spray application can vary the coverage rate so the application rate will be heavier in the high wear areas. It will also wear evenly so you will not notice any brush patterns.
- Another good tip is to tape off the end of the driveway with masking tape, this will give the driveway a crisp sharp line at the road edge. Take your time here as any mistakes at the road side will be noticeable to the whole neighborhood. After you have finished, make sure to peel the tape up before the sealer has dried.
- If you do happened to accidentally splatter the sealer on siding or the garage door use the spray bottle and rag to remove the sealer before it can dry or stain the siding, door etc. Clean any accidents immediately as sealer can stain siding or garage doors very quickly.
- Block off driveway from traffic. Be careful not to leave sealer footprints on the street. Note: Professional companies often use bright colored banner tape to make it clear the driveway is not open to traffic.
- You may want to dispose of your newly sealed shoes before going back into the house or walking anywhere else for that matter. Any left over sealer will need to be properly disposed.
- Clean and store your sealcoating brush for the next time around, hopefully two to three years from now.


Our residential services area includes the following towns:
Bedford, Amherst, Auburn, Bow, Candia, Chester, Derry, Dunbarton, Goffstown, Hollis, Hooksett, Hudson, Litchfield, Londonderry, Merrimack, Milford, Nashua, New Boston, Pelham, Salem, and Windham, NH.
What should I expect after my driveway is sealed?
This page is for the homeowner that might prefer to seal their driveway themselves. What follows is a simple step by step guide, and is not meant to cover all situations or conditions that might apply to your driveway. In addition to the steps, we have also included a few tips and warnings that may or may not apply. To help illustrate the difference between a DIY and a professional job, the things that a professional sealcoating company will provide that the average homeowner might find difficult or impossible to do themselves are listed in red!
Part 1. Planning
- Measure your driveway to get an approximate square footage. Note: You can always call us to measure your driveway, estimates are always free and we can provide you with a close approximation of your driveway's square footage.
- When purchasing your sealer, plan on a five gallon pail covering approx 400 to 500 square feet. Make sure the sealer has sand mixed into it. If your driveway has not been previously sealed the driveway may need more sealer then if it has been sealed in the past.
For example: Driveway = 1,500sf = 4 Five gallon pails of sealer
- While you are at the store make sure you also have the following:
weed trimmer
safety glasses
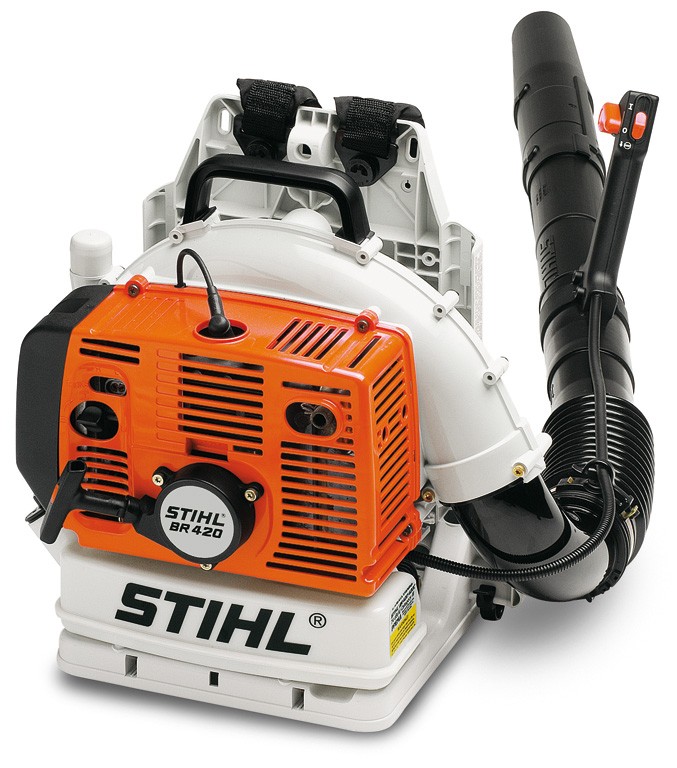
leaf blower
stiff push broom ( wire bristle broom)
oil spot primer
a good quality sealer brush 24"
masking tape
long stem paint stirring paddle
paint brush
old clothes (to throw away after)
old sneakers (to throw away after)
rags and a spray bottle of water (to clean up any accidents)
- The coverage rate is very important. Thin sealer will not provide maximum protection. Sealer too thickly applied may not cure correctly and may lead to cracking and peeling. Read the manufacture's instructions very carefully. - Note- a professional using a spray application of sealer can vary the rate to be heavier in the high-traffic or higher wear areas, which will help the sealer to wear evenly.
- Make sure the that on day you plan to seal the driveway, the outside temperatures are going to be at least 65 degrees and have a minimum temperature of 50 degrees Fahrenheit at night, any colder and the sealer will not cure correctly. Note: Professional sealcoating contractors use sealer additives such as drying agents to ensure the sealer dries and cures properly so they can seal in slightly colder conditions.
- Avoid starting too early to avoid morning fog or dew, and be sure to finish by early afternoon to allow the driveway time to dry.
- If you have kids that use sidewalk chalk on the driveway rinse the area couple days before you plan to seal the driveway. This also would be a good time to treat any grass in the cracks in the driveway with Round-up.
- The day before remove any hoses, toys, planters and anything else from the surface of the driveway. This will allow any moisture underneath a chance to evaporate.
all set?... now you are ready to go to Part 2
Part 2. Thoroughly clean and prepare the driveway surface.
- Trim any excess grass along the edges of the driveway. Any grass that hangs over the driveway edge can get caught in the sealer.
- Remove all surface dirt and debris with powered blower and broom.
- Broom dusty areas and low spots to remove any dirt or dust from the pores of the asphalt, using powered air blowers and brooms. It is best to have two people for this, one to scrub the pavement while the other person blows the dust loosened by the broom. Professional contractors will also use wire bristle brooms which will be more effective in cleaning these areas.
- Continue to scrub until no more dust is released from these areas. You should start to feel a burn in your arms from all this scrubbing, this just means you are doing a great job.
- Remove all grass, sand, and debris from all cracks and seams in the driveway.
- Push back any mulch near the edges of the driveway and thoroughly those scrub areas. Your arms should be getting really tired from the continuous scrubbing by now but keep it up, you are almost done!
- Give the driveway a second blow, and as you do inspect the driveway for any other problem areas. Remember the cleaner the driveway the better the sealer will bond with the asphalt.
- This would be the time to treat any oil spots by applying an oil spot primer if you have one.
Part 3. Seal all cracks and seams on the driveway.
- Apply a cold acrylic cracksealant to the crack in your driveway 1/4" or wider.
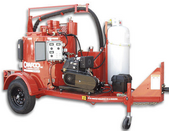
- Although there are acrylic crack repair products available at the hardware store, they do not seem to last as well as the hot rubberized crack sealant used by the professionals. We use a crack sealant heated up to between 350 to 400 degrees Fahrenheit, and use a melter/applicator to apply the melted rubber into the crack. Then we apply a coating of black silica sand to all crack-sealed areas.
- Once the crack seal has cooled clear off any excess silica sand and check the driveway for any other stray debris. Check to be sure the oil spot primer has completely dried.


How to measure a driveway
Click on image to expand.
Power Broom

Power Blower
Banding Pot
Other things to consider:
- A five gallon pail of sealer averages around $30.00 or more. A 1,500 square foot driveway will need four pails.
- The average cost for a professional to seal a 1,500 sq ft driveway is $250.00 to $300.00 dollars. We also have a coupon...
- How much is your time worth? The average home owner usually spends between a half day to a full day preparing and sealcoating their driveway.
- If you get caught in a surprise rain storm all the work and material you have completed will go down the drain.
- Bedford Sealcoating has a one year guarantee.
- Any leftover sealer will have to be stored until your town's annual hazardous waste disposal day.
Melter
Sealer Bucket
Sealer Brush
Masking Tape
$120.00 cost of a mid-range sealer
$ 50.00 cost of a quality sealer brush
$ 25.00 assorted supplies and cleaners
$195.00 total cost for DIY supplies
Spray Bottle